Import ICS to Office 365 Safely and Avoid Data Corruption
Summary: That is a very common situation because most of us rely on Calendars to keep track of everyday meetings and plans. ICS files are often used to save and share calendar events, but managing them separately isn’t very helpful once you move to Office 365. In this blog, we’ll look at why people import ICS to Office 365 and go over both a manual way and a simpler option using the ICS Converter Tool to get it done.
User Query: I have several ICS files with old meetings and events from my earlier email account. Is there a simple way to import them properly? Give me only that way, so I will not lose important info.
Reasons to Import ICS Calendar to Office 365
- It keeps all calendars in one place and makes them easier to access.
- Share schedules and manage them smoothly across teams.
- View events and appointments from anywhere using Office 365.
- Work better with colleagues and clients through shared calendars.
- Lastly, import ICS files into Office 365 online and keep calendar data protected with Microsoft’s security features.
Top 2 Manual Method Import ICS to Office 365 Easily
It can be confusing, or you can say tricky to manage the calendar files if you have multiple ICS files. Below are two common methods that many people use to import.
Import ICS File to Office 365 Using Outlook Web App
- Firstly, sign in to your Office 365 account using a web browser.
- Then, open Outlook and go to the Calendar section.
- After that, click Add > choose Upload from file.
- Thereafter, browse and select the .ics file from your system.
- Further, choose whether to add it to your existing calendar or create a new one.
- Finally, click Import to finish.
Import iCalendar to Office 365 Using Outlook Desktop
- To begin with, open Microsoft Outlook on your computer.
- Then, go to File > Open & Export > Import/Export.
- After that, select Import an iCalendar (.ics) or vCalendar file and click Next.
- Thereafter, locate and select the ICS file you want to import.
- Afterwards, click OK, then choose whether to open it as a new calendar or add it to your existing one.
- At last, confirm your choice to complete the import.
Limitations
- The import works only once and does not update events if the ICS file changes later.
- Large ICS files may take time to upload or fail without a clear error message.
- Outlook must be installed and properly configured on the system.
- There is no automatic sync after the import is completed.
- This method is not practical for bulk or frequent calendar imports.
When to Use the Manual Method vs Professional Tool
- Use the manual method if you only have one or two ICS files to import.
- Manual import works fine when the calendar data is small and simple.
- Choose the manual way if you don’t mind doing each step yourself.
- A professional tool makes more sense when you have many ICS files.
- Tools are helpful if you need to import calendars often.
- They reduce repeated work when handling large or multiple calendars.
- A tool is better when accuracy matters, and missing events is not an option.
Pro Method to Import ICS to Office 365 with Accuracy
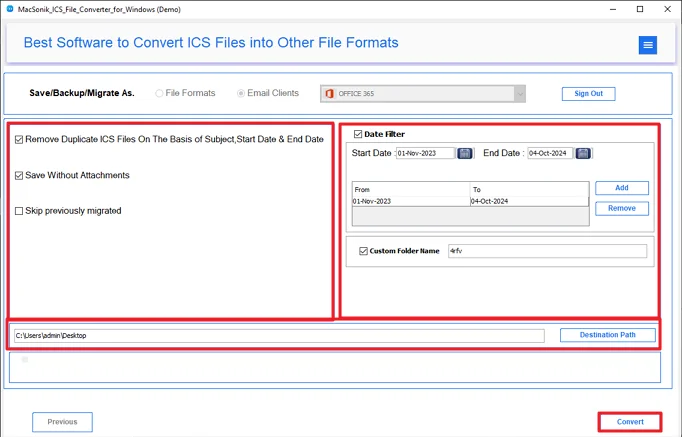
The ICS File Converter helps move calendar files into Office 365 and other email platforms. This smart utility is efficient to work with both single and multiple files and provides results in minimal time. You can also convert ICS to PST, and also you can convert ICS to EML, and many formats. The tool lets you pick a date range so only selected events are converted. It also gives options to skip attachments and remove duplicate events based on the event title and date.
Steps to Import Calendar to Outlook 365 with Attachments
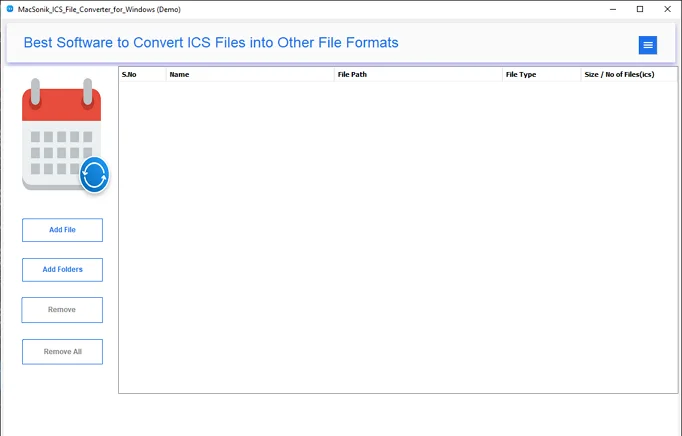
- Firstly, download the ICS Converter Tool.
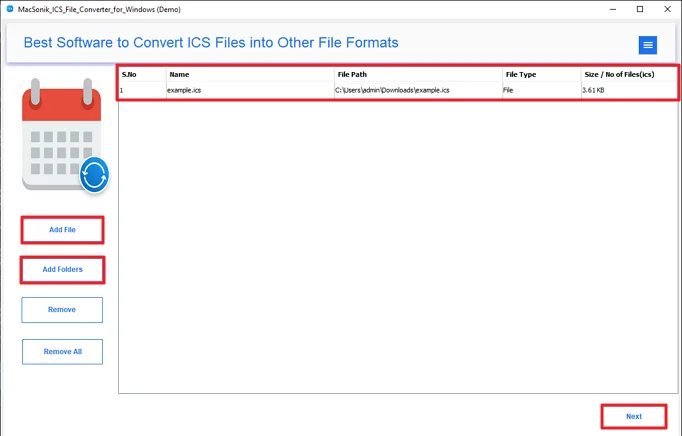
- Thereafter, add the ICS file and click Next.
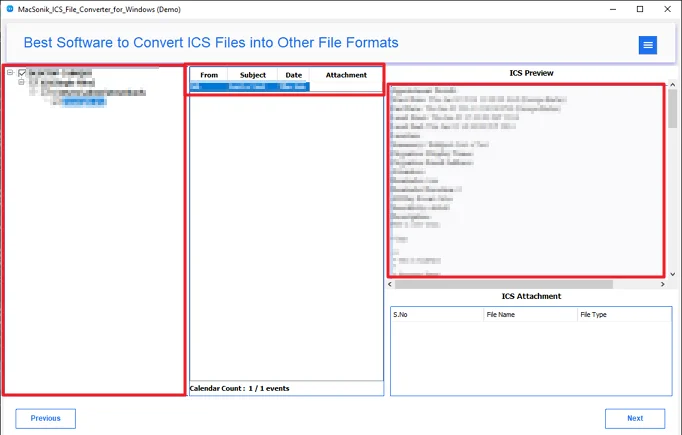
- Then, preview and select the ICS files and click Next.
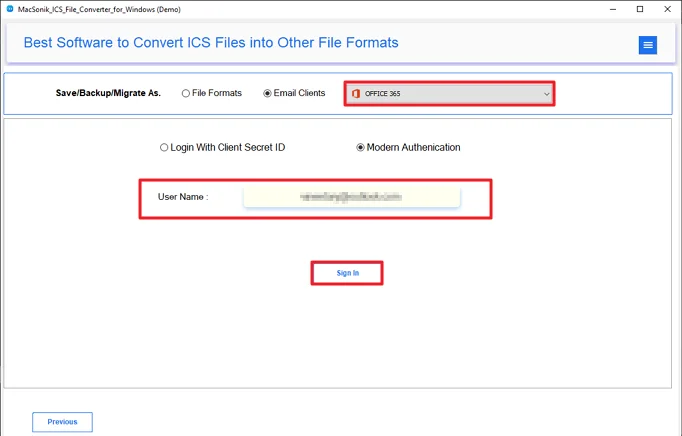
- Afterwards, select Office 365 and sign in to it.
- Finally, apply filters and hit Convert.
Conclusion
There’s more than one way to import ICS to Office 365. Outlook on the web and the desktop app can handle basic imports. But they require hands-on work and can be slow. When the volume increases, the process becomes harder to manage. In those cases, an automated option makes the job easier. The right choice really depends on how many calendars you need to move.
Frequently Asked Questions
Ans: The ICS File Converter is the best tool to import the ICS file easily in O365. it provoides 100% results and accuracy in data.
Ans: Manual methods require technical knowledge and are not preferable for beginners. But using the ICS Converter Tool, it makes the process easy for both beginners and professionals.
Ans: In the free tool, you have limited options and can only convert 50 files per folder. But using the licensed version gives you more access to enhance result in personal and enterprise levels.
Ans: The ICS file Converter Tool is designed to handle multiple files at the same time. Moreover, it offers multiple features and filters to users.
Related Post